You can add new file types in Stellar Photo Recovery software, either automatically or manually using the "Add Header" functionality. Here’s a step-by-step guide for both methods:
How to Automatically Add New Files Type:
- Run Stellar Photo Recovery.
- From the side panel, under Settings, select Add Raw File Formats option.
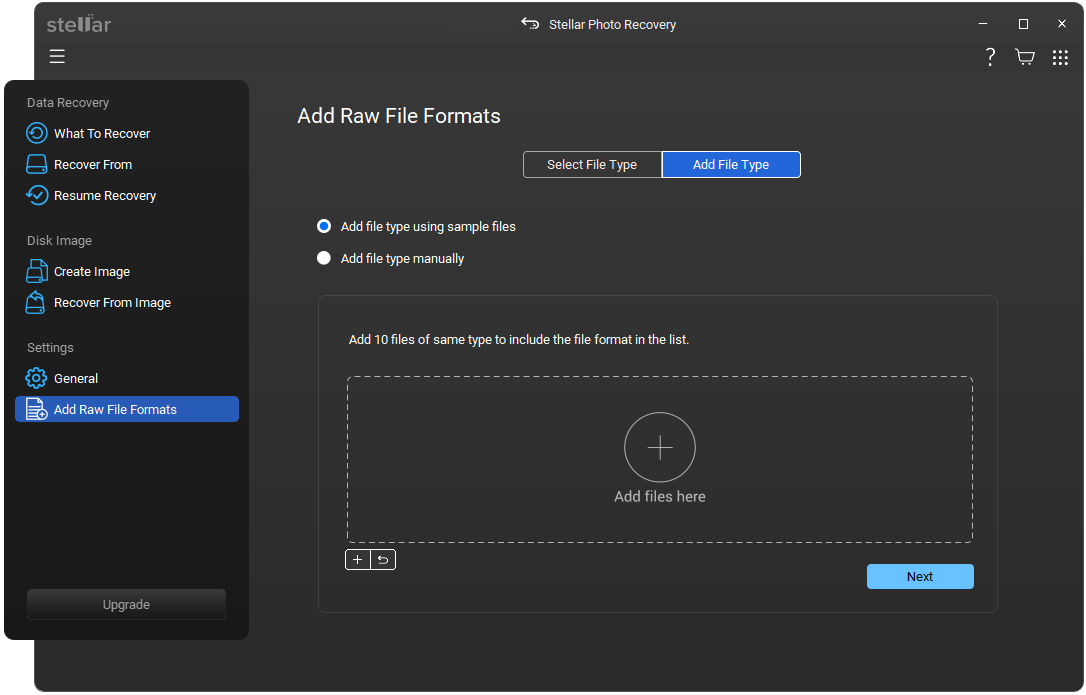
- Click Add File Type button from Add Raw File Formats window.
- Select the radio-button Add file type using sample files.
- Click Add files here to browse to the location of the file type you want to add. Add at least 10 or more samples / files of the same file type in the list of supported file types to help the software detect and define its signature accurately.
Note:
- Alternatively, you can click
 Add button to browse to the location of file type you want to add.
 - Click
 Reset button if you wish to remove all the added files at once.
- The name of the added files with the same format will be listed in the box. Click Next.
- Choose the appropriate file group from the Select Group drop-down.
- Specify the Maximum File Size in the text box, then select the file size in KB or MB.
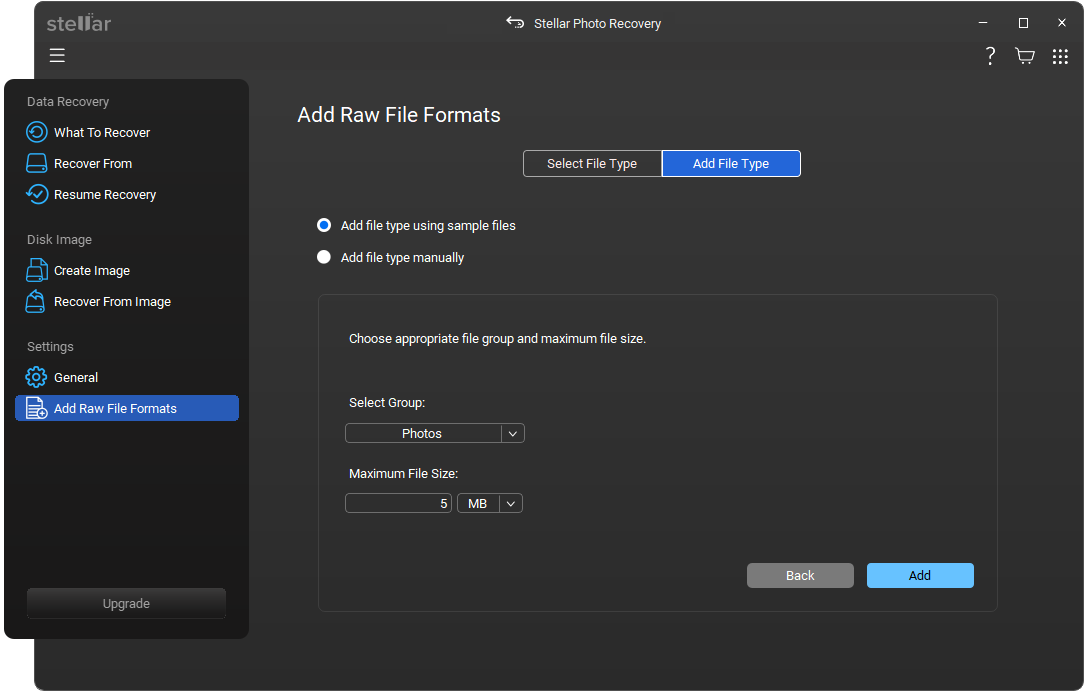
- Click the Add button.
How to Manually Add New Files Types
- Run Stellar Photo Recovery.
- From the side panel, under Settings, select Add Raw File Formats option.
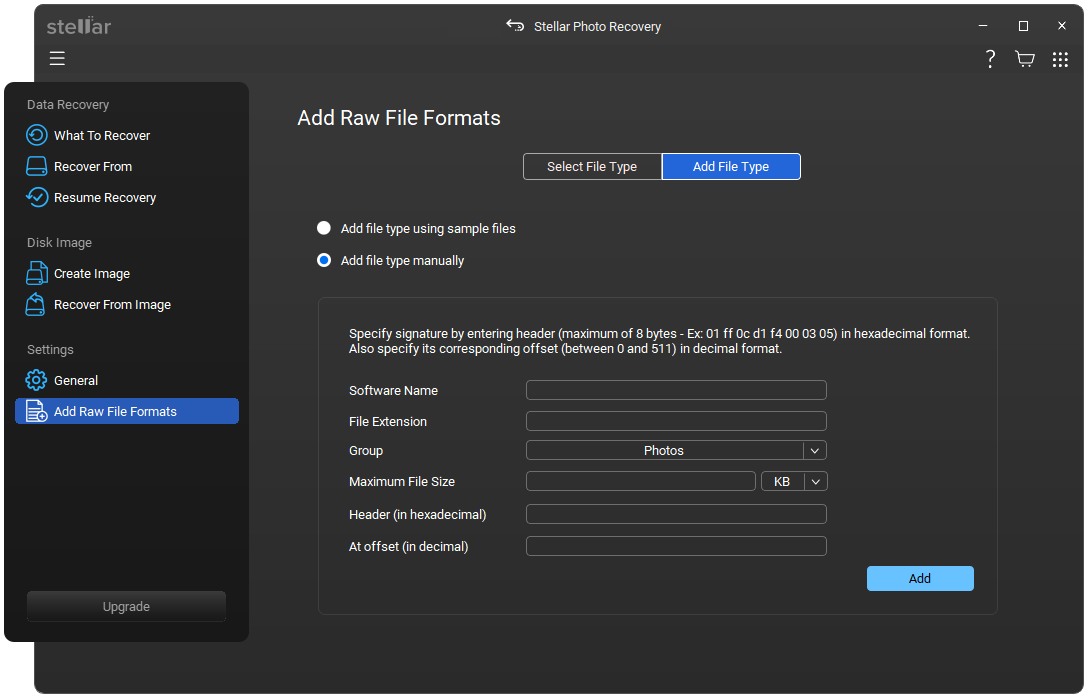
- In the Add Raw File Format screen, select the Add File Type tab.
- Then, tick the radio-button next to Add file type manually.
- Enter the following details:
- Software Name.
- File Extension.
- Select Group from the drop down list.
- Max File Size in KB and MB.
- Header in hexadecimal.
- At Offset in decimal.
6. Click Add button.